The steps below outline how to import issues into AuditFindings. A downloadable guide attached to this article (bottom of article).
You can import issues into AuditFindings via the import function. However, the file must be in a format and layout that allows for import.
- File Formats Allowed: .xls, .xlsx, .csv
- File Layout: Header and Columns (no sheet titles, blank rows, merged cells, etc)
With the correct files type and layout, the import process is easy.
- Preparation: Get import file ready, and add audit name to system.
- Select the Audit to assign imported issues
- Select the file to import (the one prepared earlier) / map the file headings to system fields
- Import
- Confirm the import was successful
If you will be importing additional fields that are not in the standard, you could set up the custom fields prior to the import.
Below are screenshots of the import process.
PREPARATION
Get the file ready for import. A sample file is attached to this article at can be used to import. The only heading required is "Issue Name". Below is a list of fields that are available for import.
| Field | Expected Value | Comments |
| Do Not Import | NA | Used to identify any column that should not be imported. |
| Issue Name (required) | Text | One column in the import must be labeled Issue Name for the import to initiate. |
| Description | Text | |
| Department | Text | A new department will be created if the department does not already exist in the system. |
| Repeat Issue | Yes, No | Will default to No if not imported |
| Issue Date | MM/DD/YYYY | Highly recommended as some reports require an issue date. |
| Status | Open, Closed | Will default to NA if not included in the import. Highly recommended as many portions of the system are based on open or closed items. |
| Priority | High, Medium, Low | Will default to NA if something other than High, Medium, or Low is imported. Not case sensitive. |
| Recommendation | Text | |
| Resolution | Text | |
| Target Resolution Date | MM/DD/YYYY | Recommended as portions of the application are based on this date. |
| Actual Resolution Date | MM/DD/YYYY | |
| Custom 1-10 | Text | Will change from Custom X to the name given to the custom field. NOTE: Data will import to the custom field even if the field is not enabled, but it will not be viable in the issue modal. |
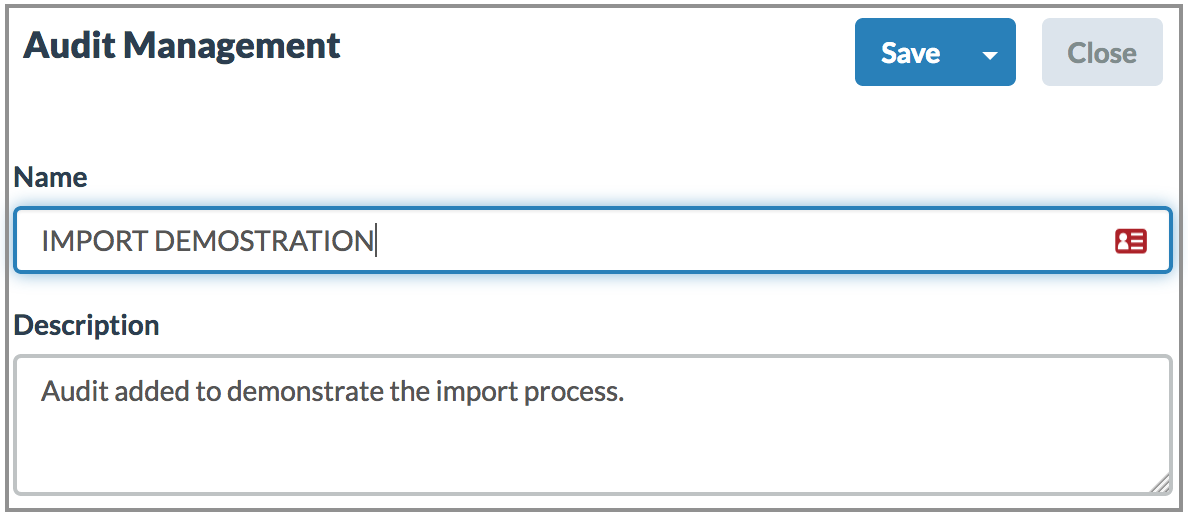
Prior to starting the import process, use the Audit tab to add the audit that items will be imported.
Click Import and select the Audit to assign the imported issues. If you select Not Assigned, the issues will be imported, but not assigned to an audit.
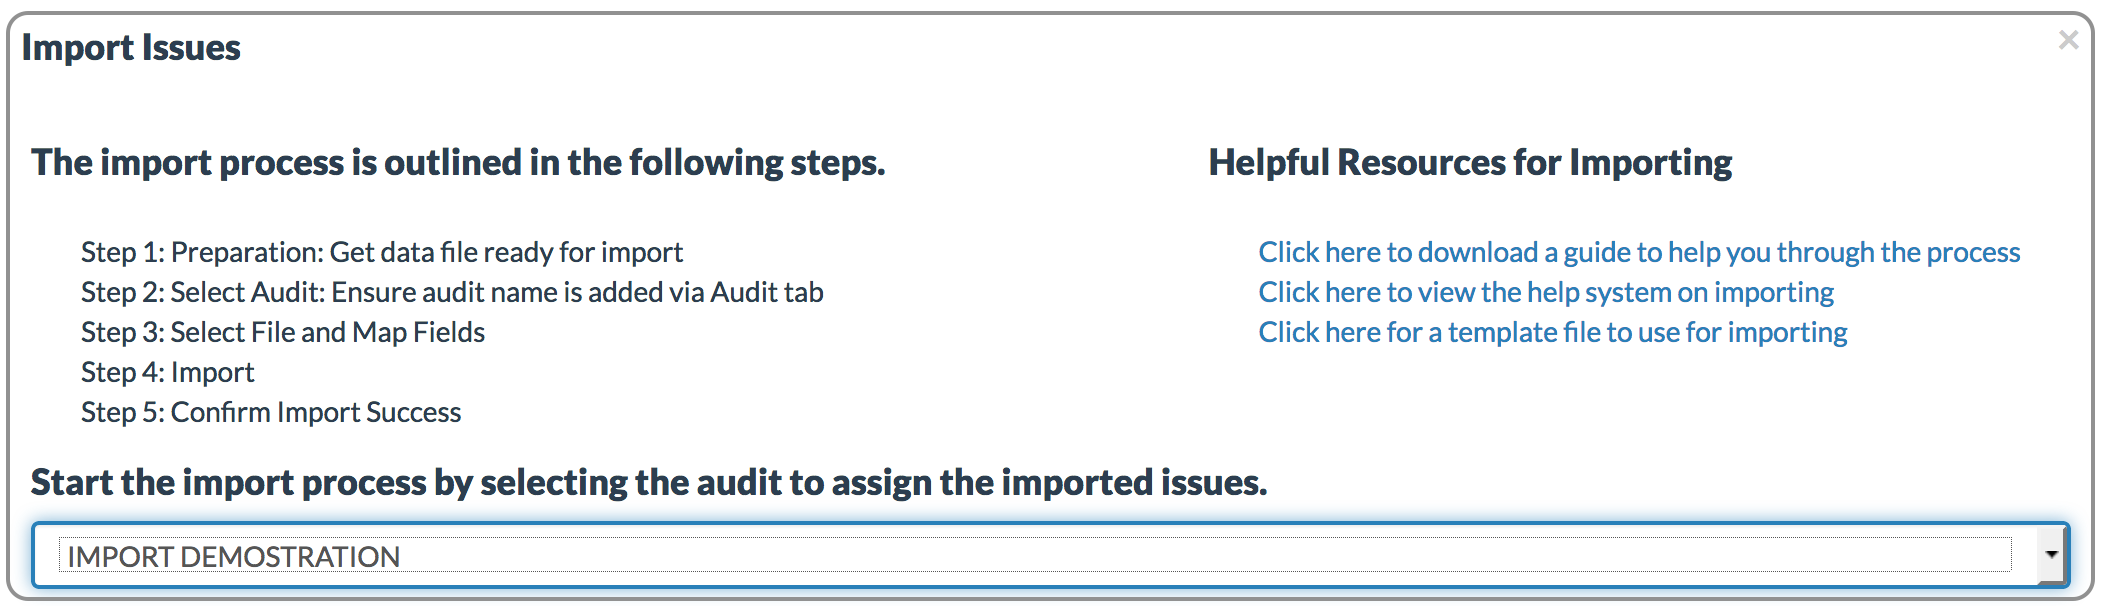
SELECT AUDIT
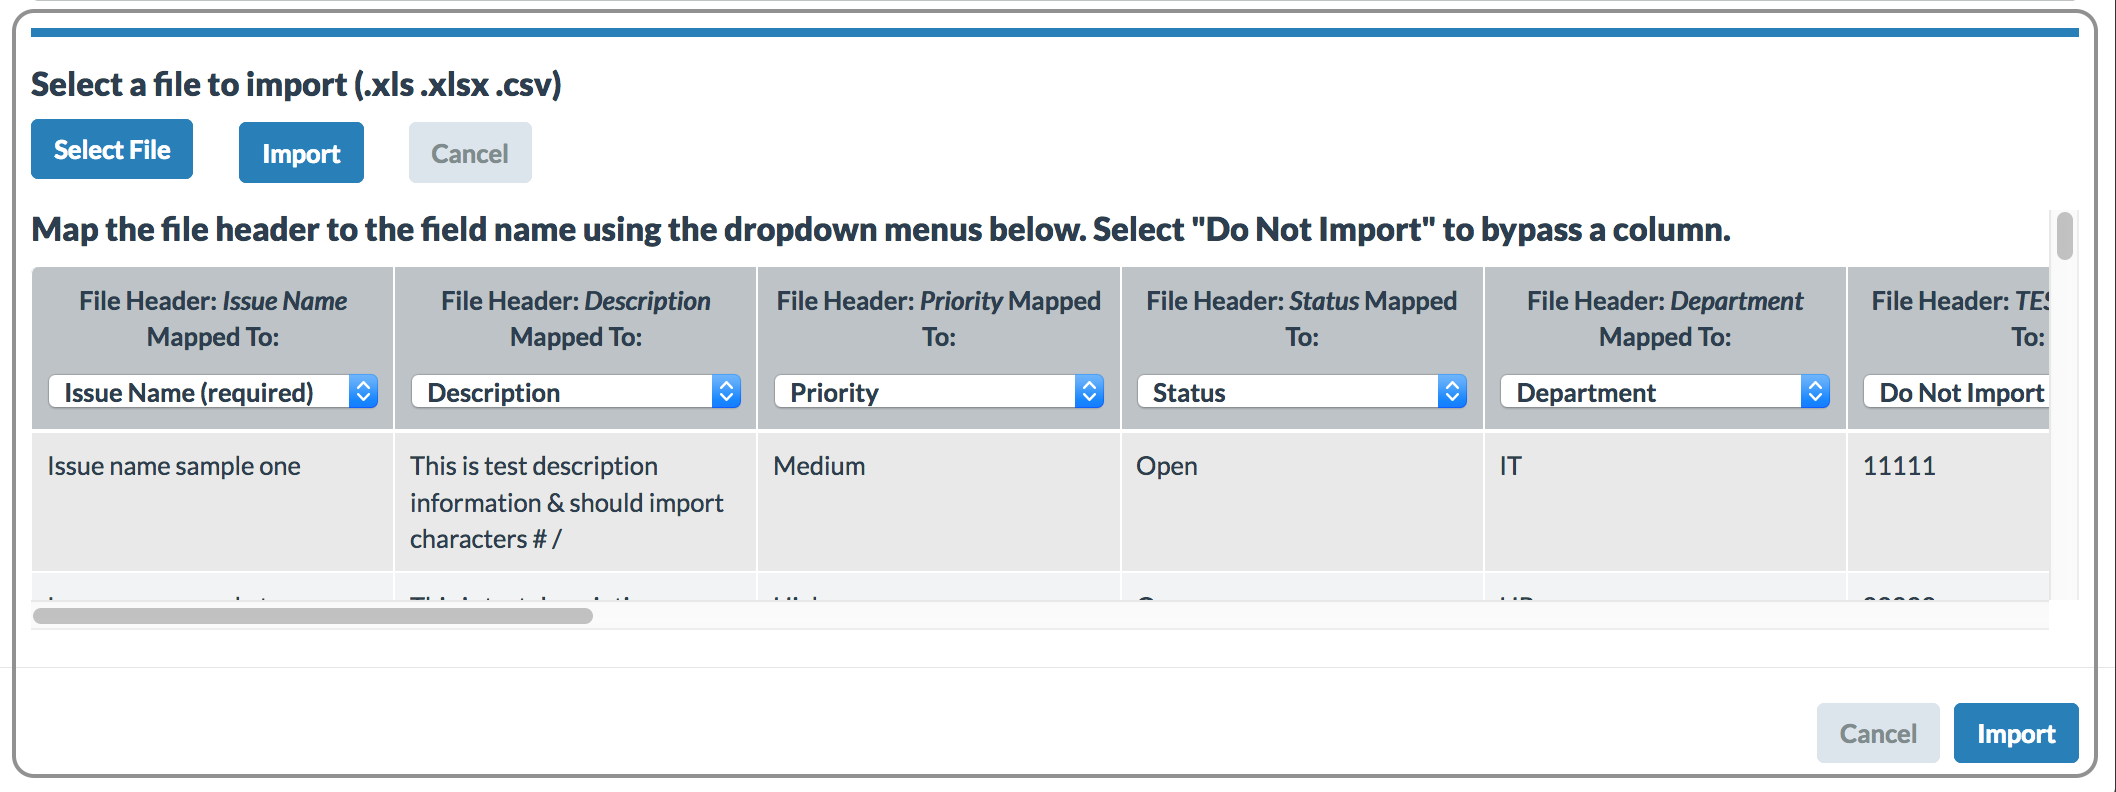
Once the file is selected, the columns must be mapped to the fields in the system.
For each column in the file, map the item to the appropriate field in the system. If a column should not be imported, select Do Not Import.
The recommended minimum fields for importing are:
• Issue Name (required): Text
• Issue Date: MM/DD/YYYY
• Status: Open, Closed
• Priority: High, Medium, Low
• Target Resolution Date: MM/DD/YYYY
Ensure to map only one column from the file to one field in the system. The import will fail if you try to map multiple columns to the same field.
If the Status and Priority are not imported, the fields will be set to NA and some components of the application will not be fully functional. It is also recommended to import the Issue Date. Without an Issue Date, some aspects of the application may not be fully operational.
If there are multiple sheets in a workbook, the system will import the active sheet. To ensure the intended data is imported, it is a good practice to create separate documents, or save the file in a .csv (comma separated values file) format.
IMPORT
Once the mapping is completed, click the “Import” button. Assuming everything goes well, the actual importing process is quick.
If the import button is grayed out or not active, the mapping is not set correctly. The most common reason is that the user attempting to import or map multiple columns to one field in the system. The import requires a one-to-one mapping.
CONFIRM IMPORT SUCCESS
If the file contained the proper data, and the fields were mapped correctly, the import should be successful. It is best to confirm that the data imported correctly. To verify this, sample a few issues and open the modal. Compare the data fields in the modal with what was expected.
If data needs to be re-imported, the quickest method is to delete the audit (which deletes all assigned issues), reenter the audit name, and perform the import process again.
TIPS AND TRICKS
Although we have tried to make the import process easy, there may be times when you did not import all relevant data. One example would be importing a spreadsheet that does not have all fields completed, such as a blank issue date, status, or priority.
The Bulk Action feature can be useful in updating these fields. Use the Filter/Search to find the specific items that should be updated, then select all items and use the Bulk Action to update the Priority or Status.
FREQUENTLY ASKED QUESTIONS
Q: How does the import function handle missing data, such as for Priority or Status?
A: The system will assign these fields the value of NA.
Q: What happens to the data if we import into a custom field that is not enabled?
A: The data is imported, but is not viewable until that specific custom field is enabled.
Q: Does the import file require specific headings?
A: The only required heading is “Issue Name.” The other headings can be mapped during the import process.
Q: Can we import items to more than one audit at a time?
A: The import process assigns issues to one audit at a time.
Q: Can we import multiple sheets in a workbook?
A: The system will import the items in the active sheet. You will see the data being imported in the modal window. To ensure that you are importing the intended data, it is recommended to create separate spreadsheets for import.
Q: What happens if we do not import an issue date?
A: The date will be blank and some aspects of the application, such as reports based on the issue date, will not populate with these items.
Q: Do I have to import issues and assign them to an audit?
A: Issues can be imported and assigned to “Not Assigned”. The Not Assigned will be listed as an option in the dropdown during import. The Not Assigned will also be an audit name listed in the Audit tab list of audits.
Q: What happens if I import the same file again?
A: If imported to the same audit, the issues will be added again, basically doubling the assigned issues. If the issues are imported to another audit, they will be added as new issues to that audit.
Q: Can we assign our own audit or issue number?
A: Client derived reference numbers can be added via the custom fields. The system assigns a unique Audit ID and Issue ID to items added to the system. This process ensures a unique reference number.
Attached are are downloadable import guide and a sample file for importing items.
If you need assistance, please let us know at support@auditfindings.com
0 Comments